Difference between revisions of "Radio / Amplifier"
| (4 intermediate revisions by the same user not shown) | |||
| Line 6: | Line 6: | ||
Some models do seem to include a MOST/D2B connection, but these might be unpopulated. | Some models do seem to include a MOST/D2B connection, but these might be unpopulated. | ||
| + | |||
| + | |||
| + | Base model cars (for example the SE and Base/Blackline) have radios without the Infinity mark above the display, and are fitted with black knobs. | ||
| Line 13: | Line 16: | ||
[[File:Becker Radio front.png|thumb|A Becker radio without NAV option (BE 6806)]] | [[File:Becker Radio front.png|thumb|A Becker radio without NAV option (BE 6806)]] | ||
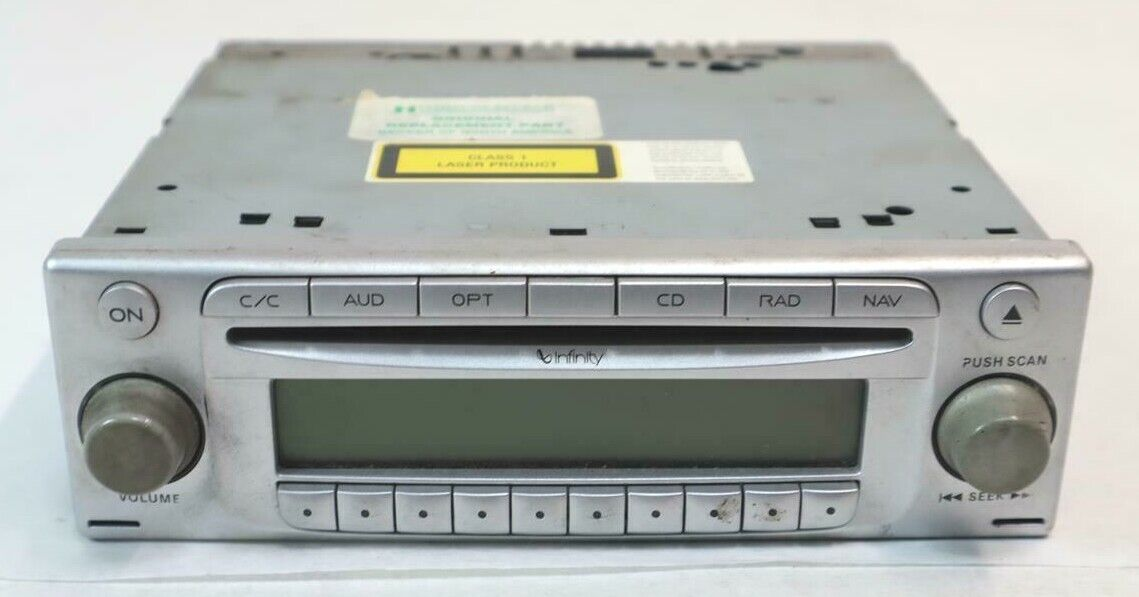
[[File:Radio with NAV and C-C button.png|thumb|Radio with NAV and C/C button. Note the silver center piece.]] | [[File:Radio with NAV and C-C button.png|thumb|Radio with NAV and C/C button. Note the silver center piece.]] | ||
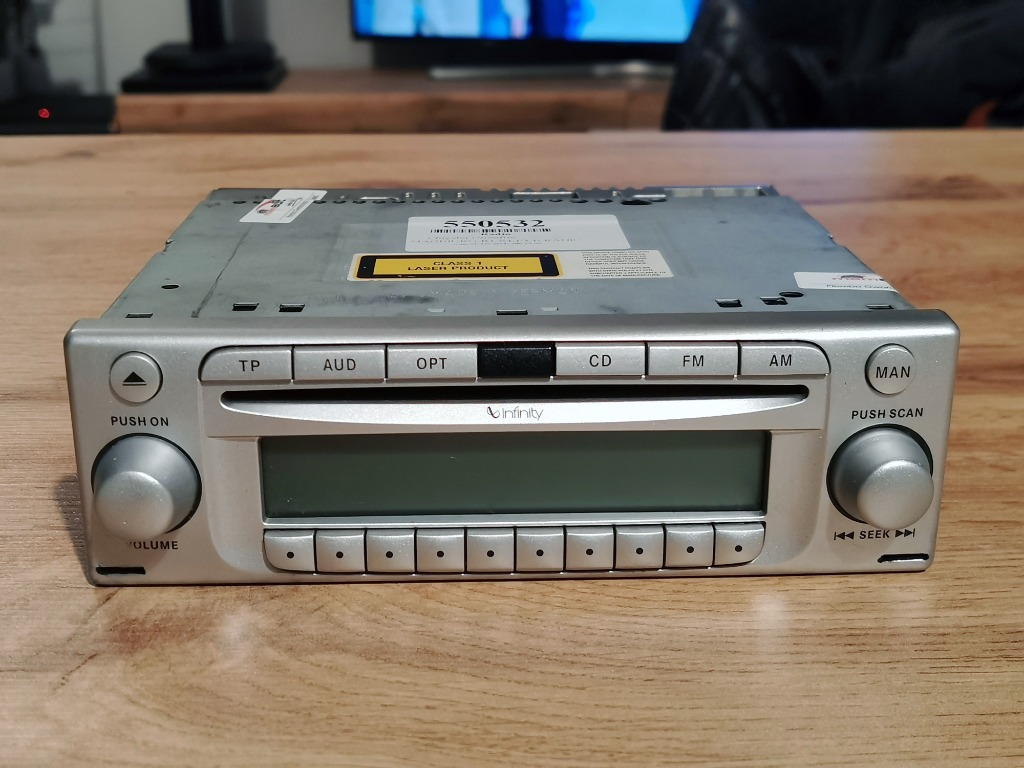
| + | [[File:Radio Base model.png|thumb|Base model radio, without NAV, black knobs, no Infinity marking.]] | ||
<br /> | <br /> | ||
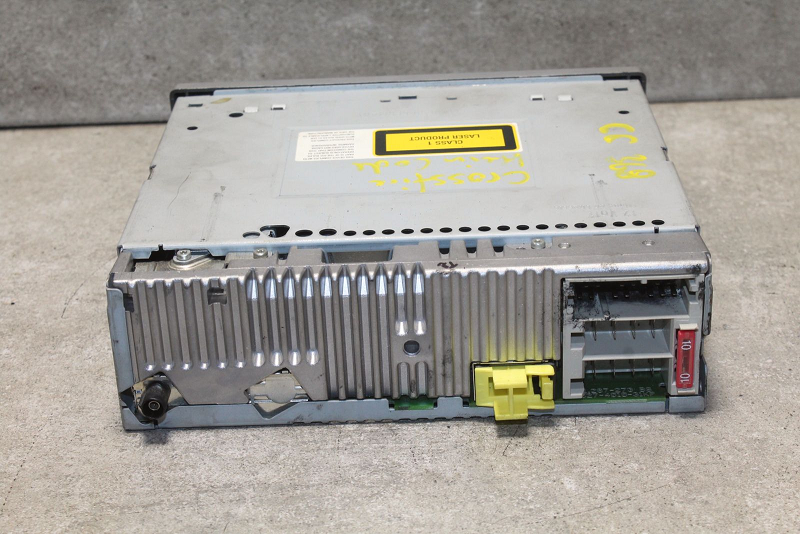
[[File:Becker Radio backside.png|thumb|The backside of the Becker radio]] | [[File:Becker Radio backside.png|thumb|The backside of the Becker radio]] | ||
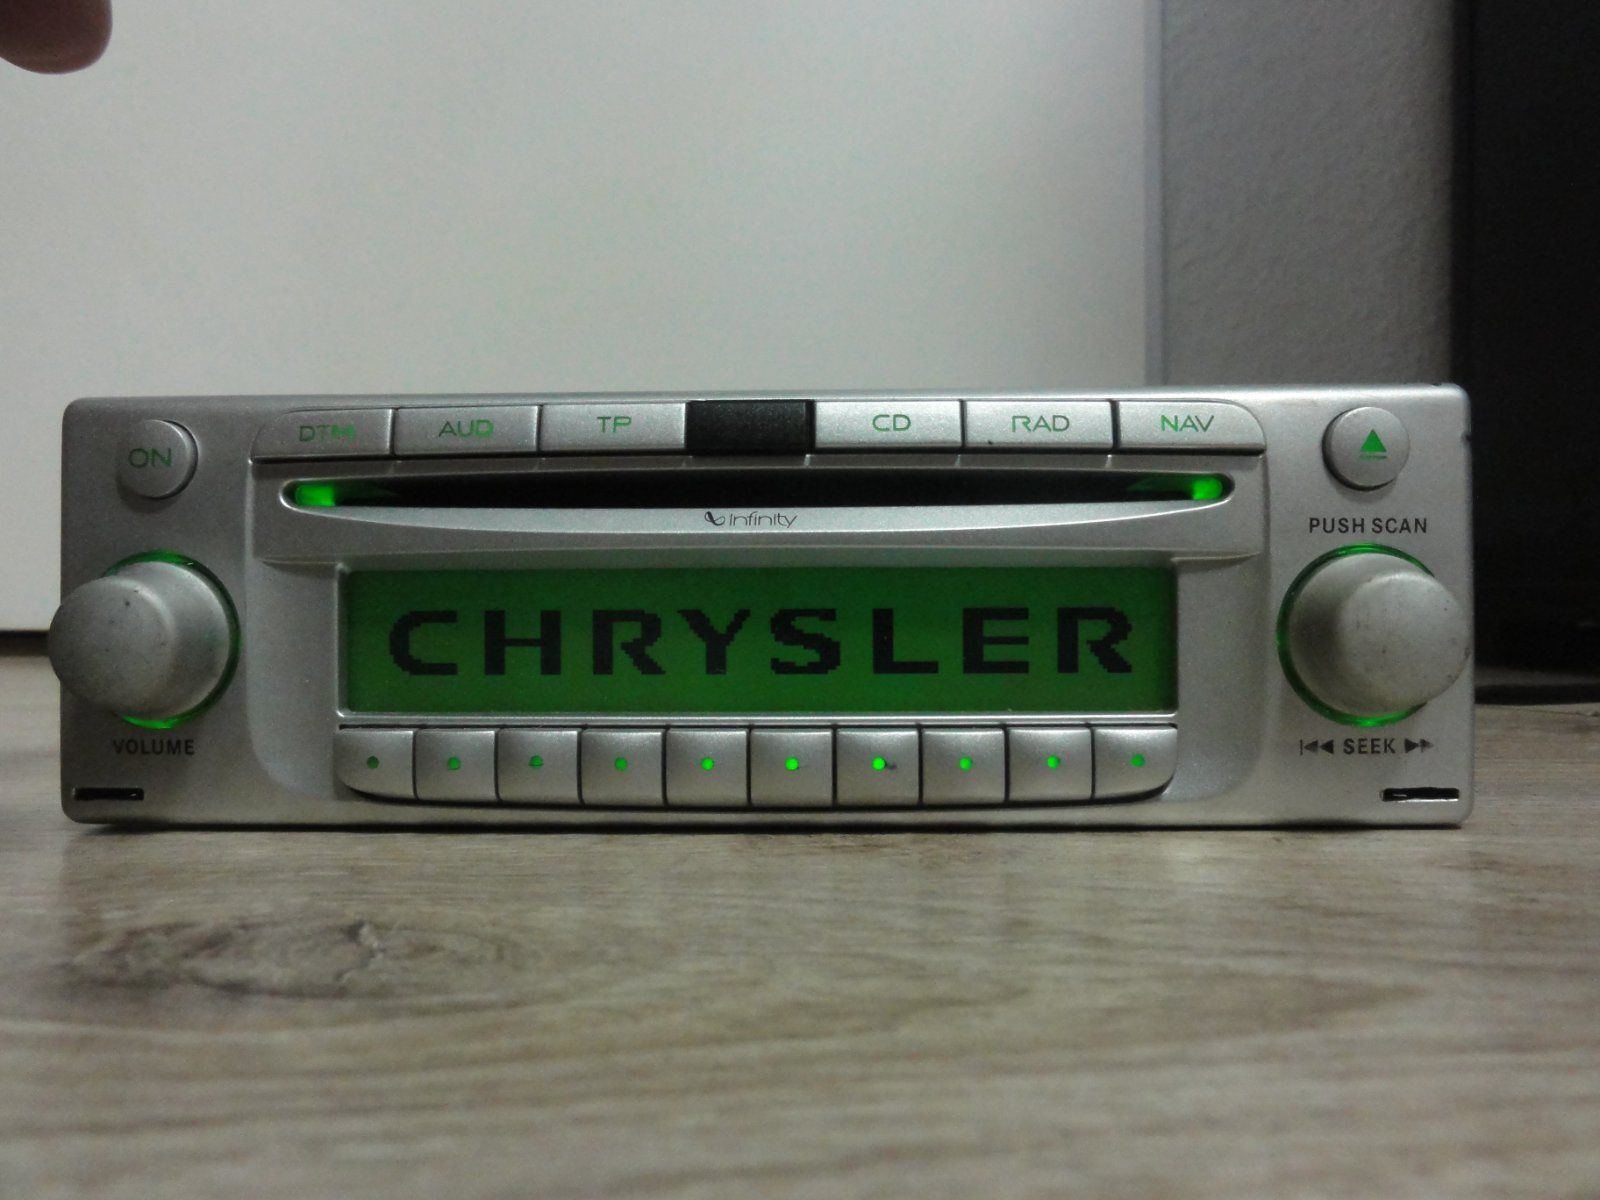
[[File:Radio with inverted display.png|thumb|Radio with inverted display, seen on very early Chrysler Crossfires. (BE 6806, made in 2003)]] | [[File:Radio with inverted display.png|thumb|Radio with inverted display, seen on very early Chrysler Crossfires. (BE 6806, made in 2003)]] | ||
| − | ==== Connectors ==== | + | ====Connectors==== |
The OEM wiring harness of the Crossfire consists of: | The OEM wiring harness of the Crossfire consists of: | ||
| − | * 2 connectors from ISO-10487 ("A" and "B") | + | *2 connectors from ISO-10487 ("A" and "B") |
| − | ** Connector "B" only has wires for the "front" speakers. You cannot use the OEM harness for controlling the rear speakers, which has to be modified manually through the 4-Channel upgrade explained below. | + | **Connector "B" only has wires for the "front" speakers. You cannot use the OEM harness for controlling the rear speakers, which has to be modified manually through the 4-Channel upgrade explained below. |
| − | * 1 antenna connector, ISO for NAV version, and probably DIN or FAKRA for non-NAV version. | + | *1 FM antenna connector, ISO for NAV version, and probably DIN or FAKRA for non-NAV version. |
| − | * [only NAV] 1 antenna connector for GPS | + | *[only NAV] 1 male SMA antenna connector for the active GPS |
<br /> | <br /> | ||
| − | ==== Antenna ==== | + | ====FM Antenna==== |
The roadster is fitted with an external antenna, similar to Volkswagen. Google P/N 1J0035849F. There is also a shorter version of the antenna, which you can find by googling "9 inch antenna volkswagen 2004". | The roadster is fitted with an external antenna, similar to Volkswagen. Google P/N 1J0035849F. There is also a shorter version of the antenna, which you can find by googling "9 inch antenna volkswagen 2004". | ||
| − | The coupe has the antenna integrated in the rear window heating array, and is powered by the "Antenna ON" signal of the headunit (connector A pin 5). This antenna module is a Chrysler part. '''Note:''' if you have issues with your amplifier and/or FM radio reception, there is a chance that the cabling in the sleeve going into the rear hatch is being cut through the metal, shorting the ON signal to the chassis (common issue in cars). | + | The coupe has the antenna integrated in the rear window heating array, and is powered by the "Antenna ON" signal of the headunit (connector A pin 5). This antenna module is a Chrysler part. '''Note:''' if you have issues with your amplifier and/or FM radio reception, there is a chance that the cabling in the sleeve going into the rear hatch is being cut through the metal, shorting the ON signal to the chassis (common issue in cars). |
| + | |||
| + | ====GPS Antenna==== | ||
| + | This antenna is located [figure out where, probably in front of car], and is a Wisi AG 13, an '''active''' GPS antenna with a male SMA connector. [https://www.crossfireforum.org/forum/audio-video-electronics/25595-gps-antenna-factory-nav-radio.html There is a thread on the Crossfire Forum that explains a lot.] | ||
====Part numbers==== | ====Part numbers==== | ||
| Line 75: | Line 82: | ||
{| class="wikitable" | {| class="wikitable" | ||
|+"Power Amplifier A" | |+"Power Amplifier A" | ||
| + | TE Connectivity Multilock .070 176116-6 | ||
| + | |||
[[File:Power_Amplifier_A_Connector.png|alt=|frameless]] | [[File:Power_Amplifier_A_Connector.png|alt=|frameless]] | ||
|1 Blue | |1 Blue | ||
| Line 107: | Line 116: | ||
{| class="wikitable" | {| class="wikitable" | ||
|+"Power Amplifier B" | |+"Power Amplifier B" | ||
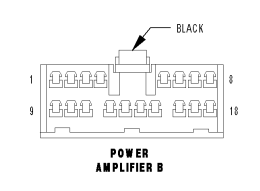
| + | TE Connectivity Multilock .070 176118-6 | ||
| + | |||
[[File:Power_Amplifier_B_Connector.png|alt=|frameless]] | [[File:Power_Amplifier_B_Connector.png|alt=|frameless]] | ||
|1 Red / Yellow | |1 Red / Yellow | ||
Latest revision as of 13:52, 15 June 2024
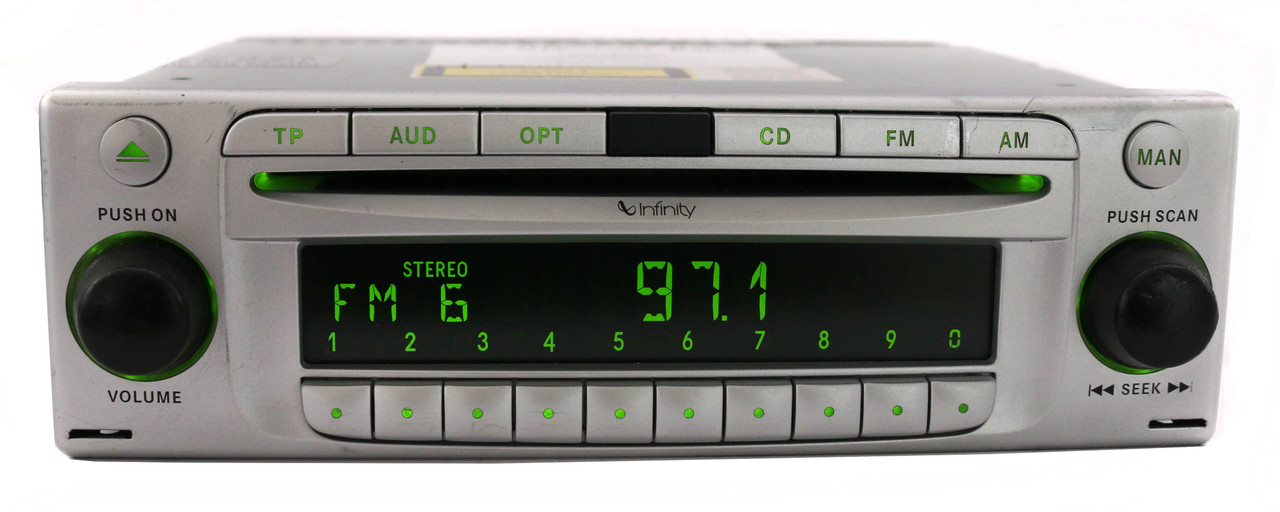
The crossfire is fitted with a Becker radio, based on the Becker DTM High Speed. The speakers on the non-Base models are powered by an additional Infinity Amplifier.
Radio
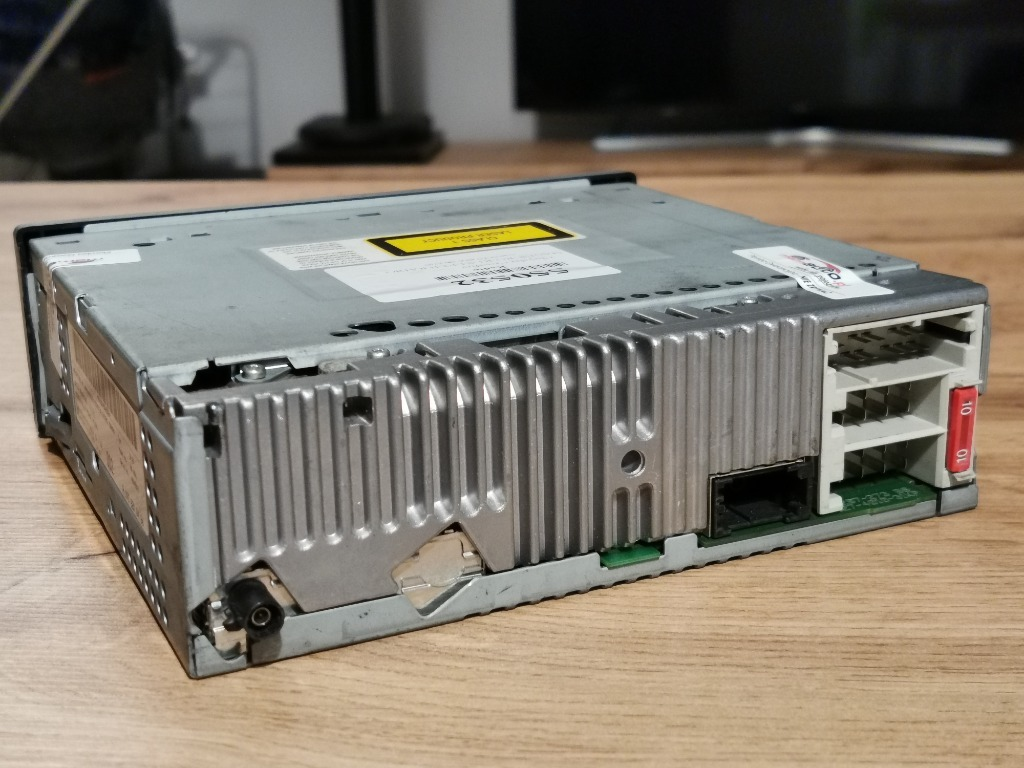
The radio itself seems to be based on the Becker Monza, and has all 3 "ISO" connectors (A, B, C), although connector C is not used. Another spot for a MOST/D2B (Mercedes) connection can be found, but no fiber optics are installed (sometimes).
Some models do seem to include a MOST/D2B connection, but these might be unpopulated.
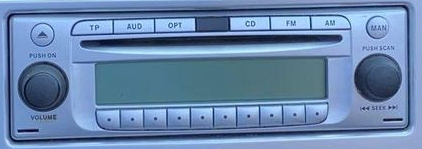
Base model cars (for example the SE and Base/Blackline) have radios without the Infinity mark above the display, and are fitted with black knobs.
The NAV model has an additional C/C button, that is used for the CD Changer, a function that was never shipped with the crossfire. You can find documentation about the CD changer and installation here : https://www.crossfireforum.org/forum/audio-video-electronics/10953-cd-changer-nav-receivers.html .
However, there are other variants that have a DTM button instead.
Connectors
The OEM wiring harness of the Crossfire consists of:
- 2 connectors from ISO-10487 ("A" and "B")
- Connector "B" only has wires for the "front" speakers. You cannot use the OEM harness for controlling the rear speakers, which has to be modified manually through the 4-Channel upgrade explained below.
- 1 FM antenna connector, ISO for NAV version, and probably DIN or FAKRA for non-NAV version.
- [only NAV] 1 male SMA antenna connector for the active GPS
FM Antenna
The roadster is fitted with an external antenna, similar to Volkswagen. Google P/N 1J0035849F. There is also a shorter version of the antenna, which you can find by googling "9 inch antenna volkswagen 2004".
The coupe has the antenna integrated in the rear window heating array, and is powered by the "Antenna ON" signal of the headunit (connector A pin 5). This antenna module is a Chrysler part. Note: if you have issues with your amplifier and/or FM radio reception, there is a chance that the cabling in the sleeve going into the rear hatch is being cut through the metal, shorting the ON signal to the chassis (common issue in cars).
GPS Antenna
This antenna is located [figure out where, probably in front of car], and is a Wisi AG 13, an active GPS antenna with a male SMA connector. There is a thread on the Crossfire Forum that explains a lot.
Part numbers
The Becker "ZH 29" type might refer to the Chrysler naming of the Coupe model, ZH29.
| Mercedes P/N | Notes |
|---|---|
| A 193 820 00 86 | (From SN 35002636)
BE 6806, Inverted screen, MOST cap, "Becker", DoM 19/03 (From SN 35006768) BE 6806, Inverted screen, MOST cap, "Becker", DoM 27/03 (From SN 35018394) BE 6806, Correct screen, MOST cap, "Becker" |
| A 193 820 03 86 | (From SN 45002935)
BE 6811, NAV option with C/C button, MOST/D2B capped off (metal plate), "Harman/Becker", No black spot on the centered tab, DoM 22/04 ISO FM antenna |
| A 193 820 04 86 | (From SN 45065224)
BE 6806, no NAV, MOST/D2B, "Harman/Becker" |
| A 193 820 06 86 | Late(st?) model, pulled from VIN 63677, no navigation, MOST/D2B connector. |
Amplifier
Wiring
4-channel configuration
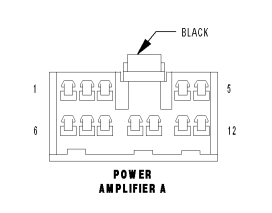
As shown above, the amplifier does have 4 channels. However, the B connector on the Becker radio only wires the Front channels.
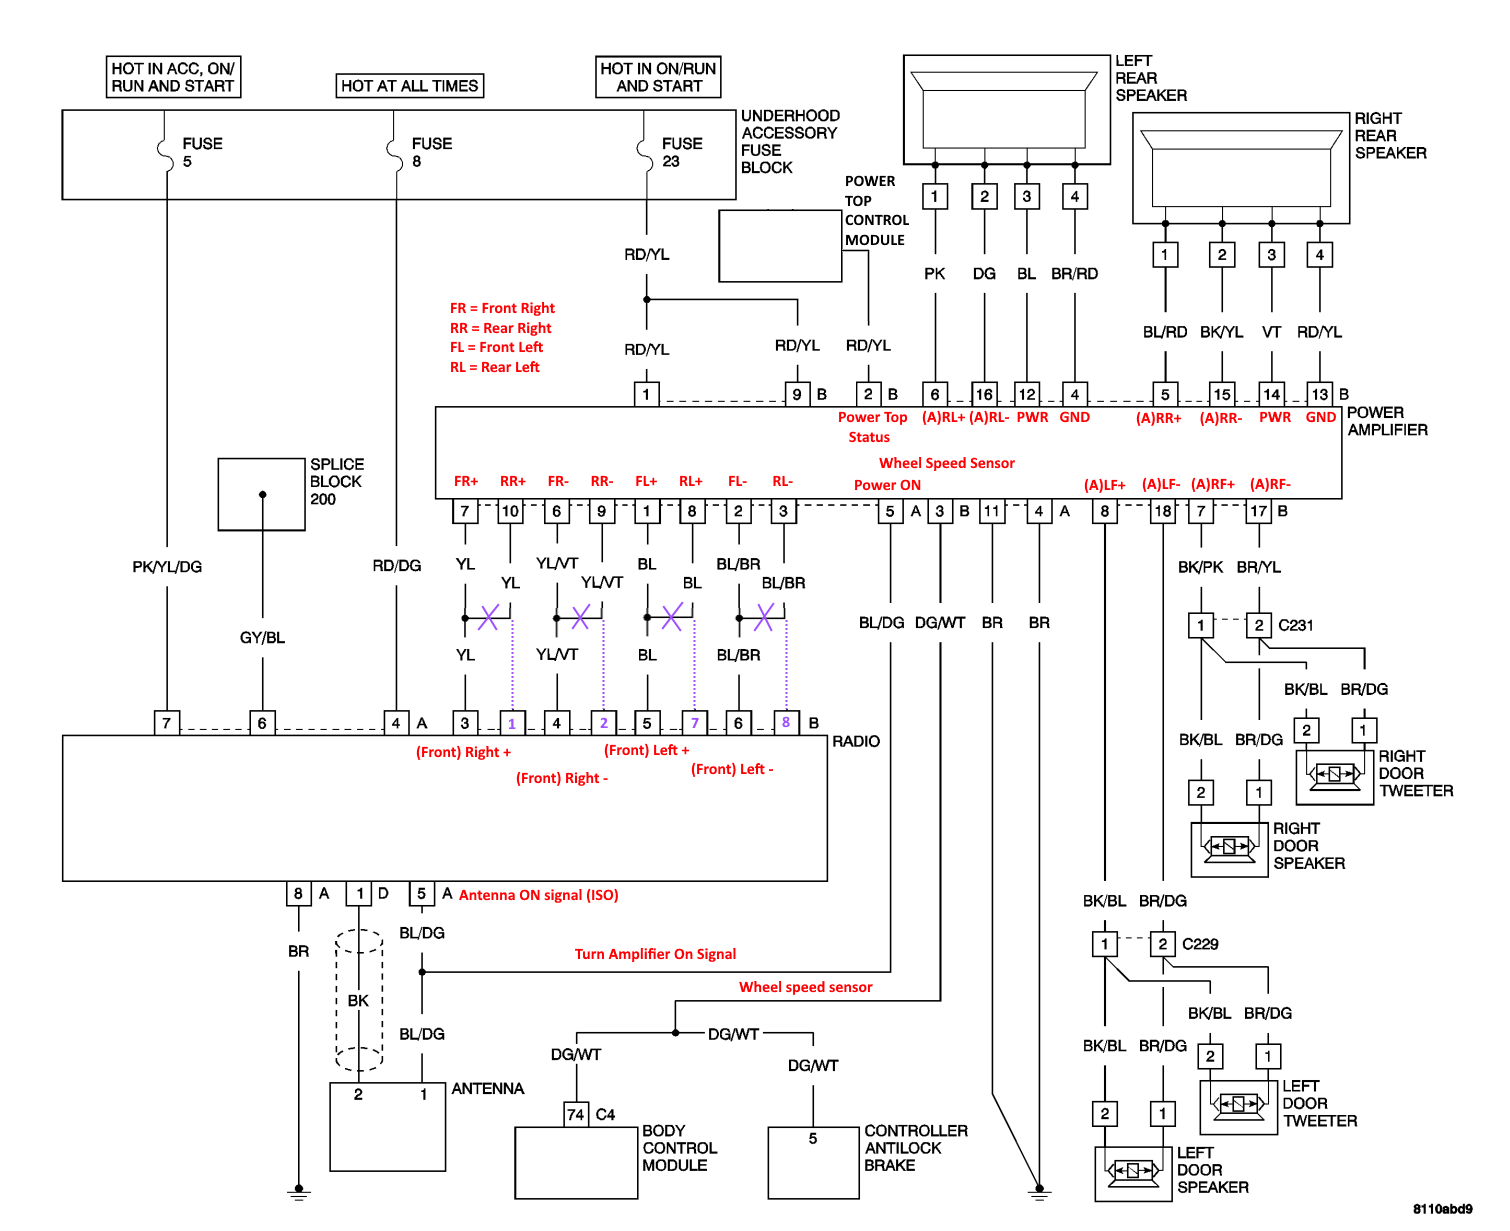
It is possible to pull 4 new wires for the rear speakers to the headunit, by cutting the following wires on the Power Amplifier A connector: 10 (RR+, yellow) 9 (RR-, yellow/violet) 8 (RL+, blue) 3 (RL-, blue/brown). Then, wire these to the radio on either RCA jacks or into the Radio B connector using "ISO radio connector pins".
